


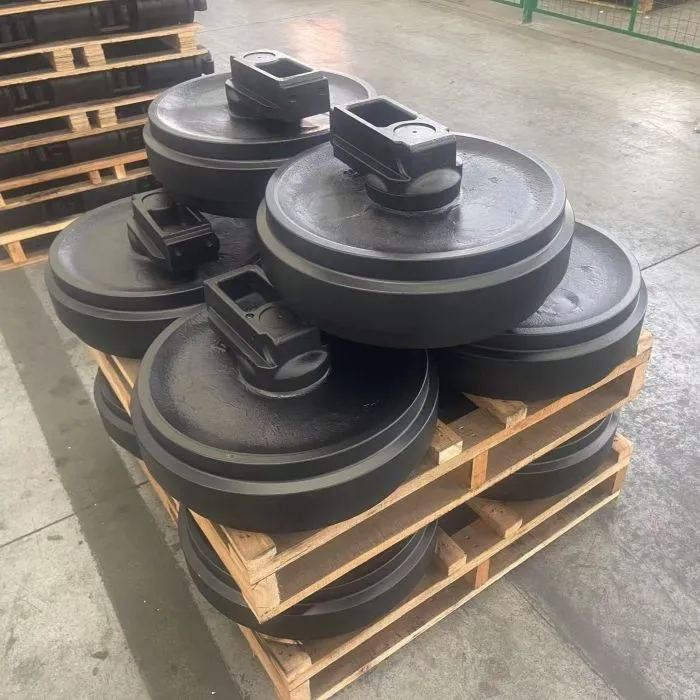
To help you more conveniently replace your excavator guide roller wheels, we've compiled a "Excavator Guide Roller Wheel Replacement Tutorial" for your reference.
I. Excavator Guide Roller Wheel Replacement Tutorial:
Preparation
Before replacing your excavator guide roller wheels, you need to complete the following preparations:
1. Confirm the model and quantity of the excavator guide wheels to be replaced;
2. Gather the necessary tools, including wrenches, wrench sets, and hydraulic jacks;
3. Purchase new excavator guide wheels in advance.
Removing the Old Wheel
1. Use the jack to raise the excavator, lifting the excavator guide wheel off the ground;
2. Use a wrench to loosen the excavator guide wheel mounting nuts;
3. Use a wrench to remove the excavator guide wheel;
4. Clean the excavator guide wheel axle and wheel seat with detergent. Installing New Wheels
1. Place the new excavator guide wheel on the wheel seat.
2. Tighten the excavator guide wheel nuts to the specified torque.
3. Use a jack to lower the excavator back to the ground, ensuring the excavator guide wheel is in contact with the ground.
4. Drive the excavator for several meters to confirm that the new excavator guide roller wheels are properly installed and locked.
II. Maintenance:
Maintain your excavator guide roller wheels to keep them in good working condition. Here are some tips to extend the life of your excavator guide roller wheels:
1. Avoid sharp turns or spinning in place: This can cause serious misalignment between the excavator guide roller wheels and the track, leading to edge wear.
2. Regularly clean mud, sand, and gravel: Clean any debris around the wheel, especially after rainy days or working in mountainous areas.
3. Loosen the track tensioner during extended downtime to prevent prolonged tension on the wheel.
4. Choose the appropriate material for the working conditions: For high-temperature, wet, or rocky areas, use high-strength alloy excavator guide roller wheels.
III. Usage Tips:
Good operating habits are key to extending the life of your excavator's guide roller wheels and ensuring stable equipment operation. The following tips, while seemingly minor, can effectively prevent malfunctions and reduce maintenance frequency:
1. Avoid operating with a heavily loaded side for extended periods:
Note:
In actual operations, especially during slope work, loading and unloading, and grabbing operations, it's common for one side of the equipment to experience significantly greater forces than the other. Prolonged unbalanced loading can cause pressure on one side of the excavator's guide roller wheels, increasing gear wear, and even causing problems like wheel seat displacement or track misalignment.
Operational Recommendations:
During operation, regularly adjust the excavator's position to maintain a balanced load.
Alternate between steering movements to avoid prolonged biased operation.
For high-frequency work, it's recommended to schedule appropriate procedures to avoid single-sided loading.
2. Warm up the machine for 10 minutes before starting:
Note:
When the excavator is idle for extended periods or during winter operation, the grease can settle or thicken, resulting in poor lubrication during initial startup. If the drive system operates without adequate lubrication, friction between the axle, wheel seat, and drive gear will increase, shortening its service life.
Operational Recommendations:
After each start, idle for 5-10 minutes to allow the hydraulic system and excavator guide roller wheels to fully warm up.
Check that grease is properly applied to lubrication points and refill if necessary.
Using a low-temperature grease is recommended, especially in cold regions.
3. Start and brake on level surfaces whenever possible:
Note:
Starting or stopping suddenly on uneven or soft surfaces (such as gravel, mud, or sand) can cause uneven force on the excavator guide roller wheels and tracks, which can easily cause gear engagement problems, slippage, and jamming. In severe cases, this can lead to track derailment or tooth damage.
Operational Recommendations:
Starting and braking should be performed on compacted or trimmed surfaces whenever possible.
If operation on uneven surfaces is unavoidable, start and stop slowly.
Pay close attention to the running status of both tracks to avoid sudden slippage.
4. Prevent Wheel Seats from Icing and Seizing During Winter Construction
Note:
In low temperatures, moisture trapped between the excavator guide roller wheels and the wheel seat can easily freeze, preventing the wheels from rotating or causing uneven torque. In severe cases, it can even cause the drive motor to overload and burn out.
Operational Recommendations:
Promptly clear snow and mud after operation to prevent ice from forming at night.
Park the excavator in a dry or sheltered location when not in use.
Walk the front of the excavator around to check for ice. Use hot water or warm air to warm the wheels.
Additional Recommendations:
Regularly train operators to enhance their awareness of daily operating procedures.
Maintain an equipment operation log to record any abnormalities or emergencies.
Use specialized parts to ensure coordinated operation of the drive system components.
The above are detailed steps and methods for replacing, maintaining, and using excavator guide roller wheels. If you wish to replace other parts, it is recommended that you familiarize yourself with the corresponding procedures and precautions in advance and follow relevant safety regulations during operation. At the same time, when driving the excavator, pay attention to confirm the status of the excavator guide roller wheels and crawler tracks, and replace and repair them in time to ensure the normal operation of the excavator.